shopify
This page will guide you through the process to start accepting payments on your Shopify website with Paymennt.com.
Before setting up the Paymennt.com Shopify App on your store, please make sure that your website complies with the our website go-live checklist
Accepting payments with Paymennt.com on your Shopify website
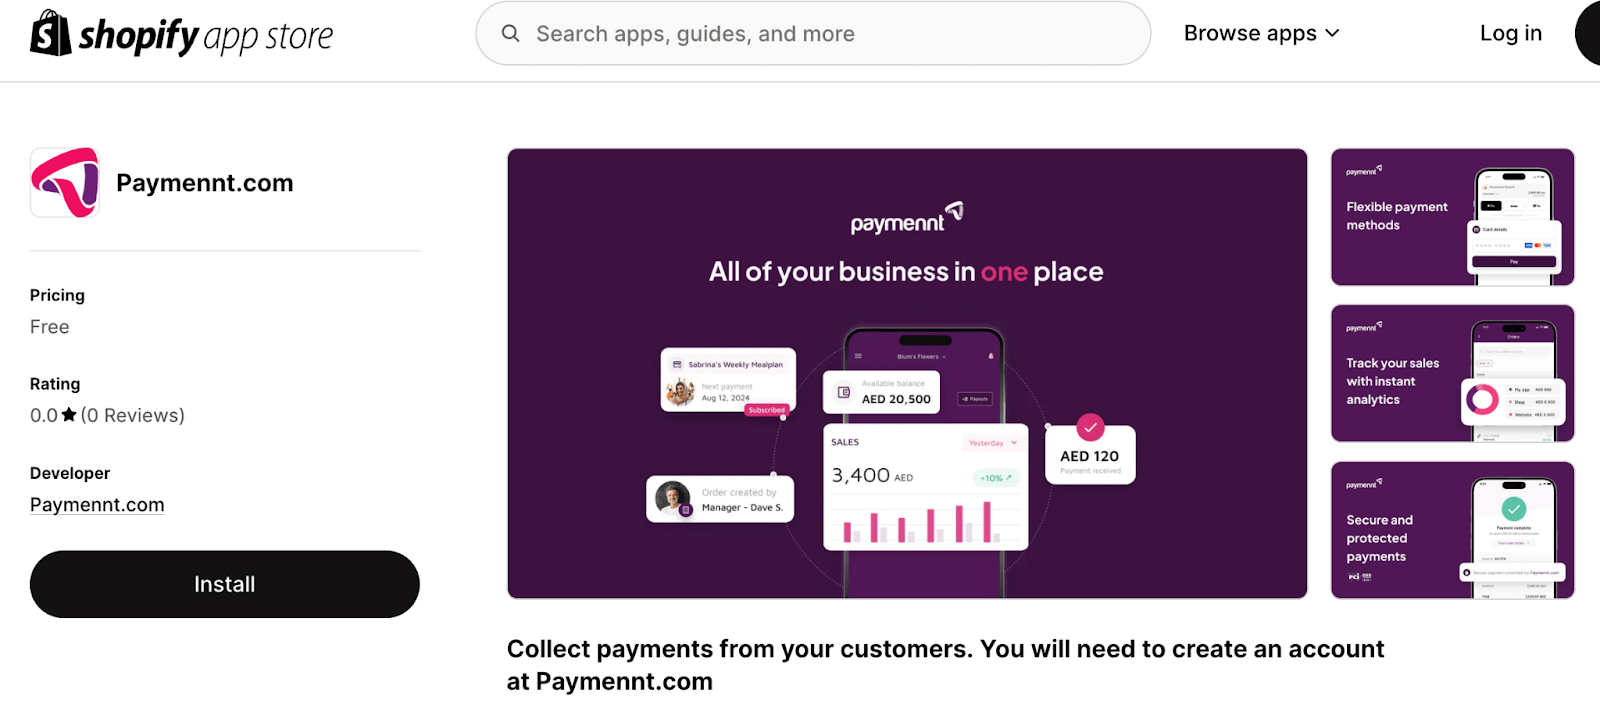
Click on this link to access our Paymennt.com page on the Shopify App Store.
Click on Install to begin the process of adding the Paymennt.com payment App to your Shopify store.

Login to your Shopify Account.

Click Install once prompted to confirm the installation of the Paymennt.com application and approve necessary permissions.

Next, authenticate to your Paymennt.com account using the Paymennt Mobile App. Click here for instructions.
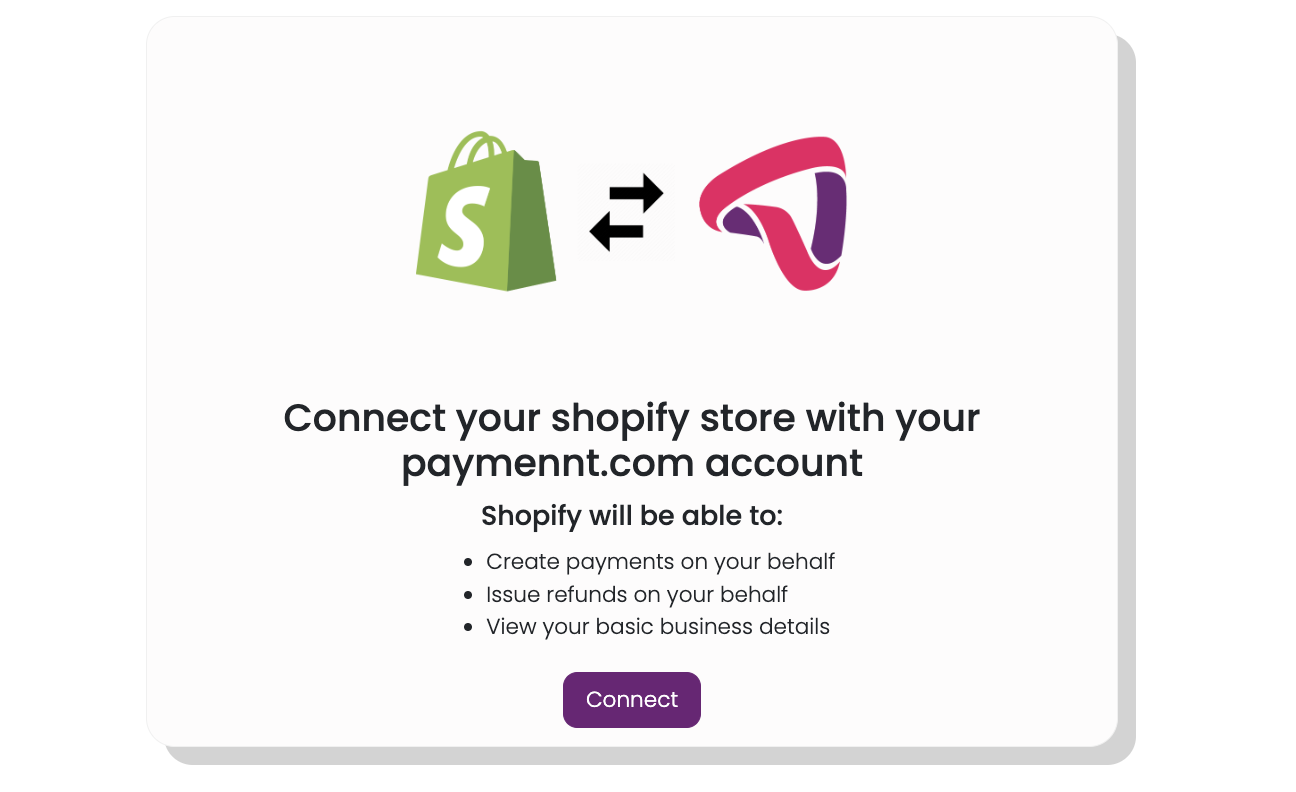
Select Connect to link your Shopify store with your Paymennt.com account.

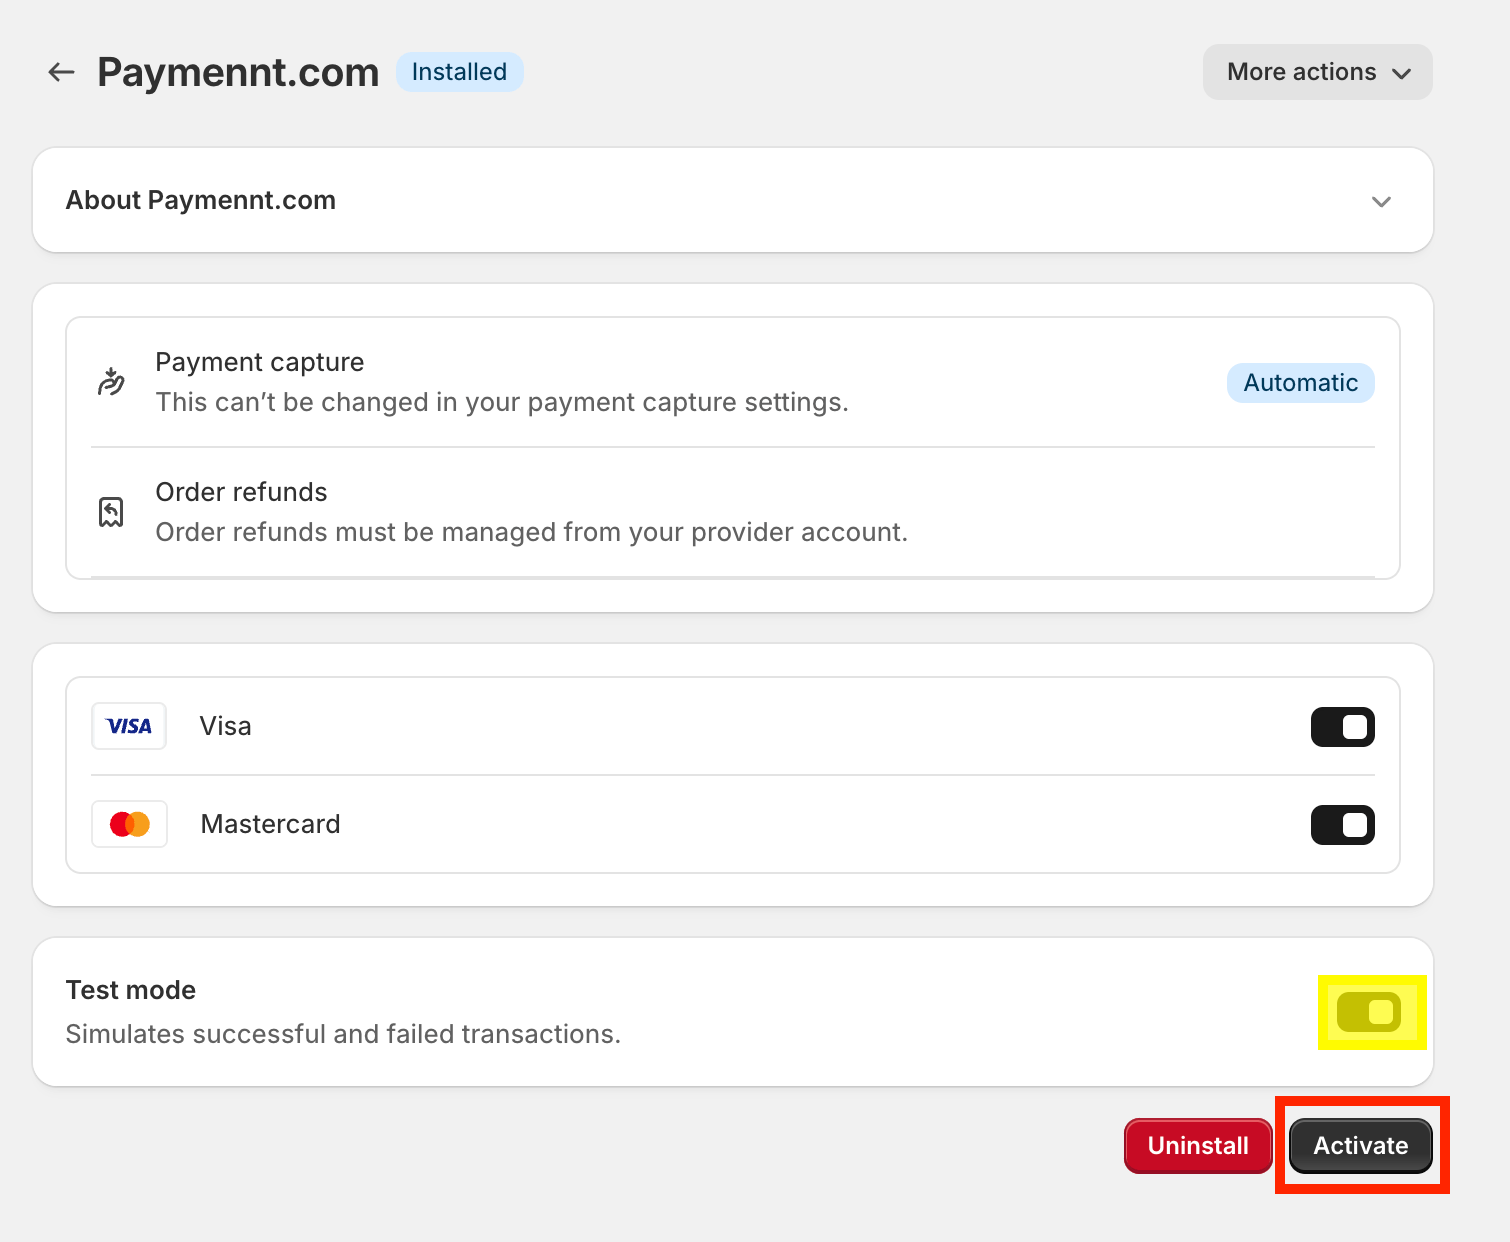
Click Activate to complete setup.
 Live Transaction Mode
Make sure to set TEST mode to OFF once you are ready to start processing live transactions.